Successfully Deploying a .NET Core App on Heroku from a Macbook with M1 Chip
I show you how to create a .NET Core application using the CLI, dockerize it, and tackle the tricky part - deploying it from a MacBook M1. I explain why you may encounter an 'Exec format error' during deployment and provide an efficient workaround using Github workflows.
Ever hit a roadblock deploying your .NET Core application on Heroku, especially from a MacBook with an M1 chip? We've got you covered in my latest Medium post!
In this post, I show you how to create a .NET Core application using the CLI, dockerize it, and tackle the tricky part - deploying it from a MacBook M1. I explain why you may encounter an 'Exec format error' during deployment and provide an efficient workaround using Github workflows.

Here are the basics:
Set Up the .NET Core Application: Use the CLI to create a minimalistic REST API, ready for deployment.
dotnet new web -o MyAPIDockerize the Application: With my detailed guide, learn to create an optimized Dockerfile that suits .NET Core 7.0.
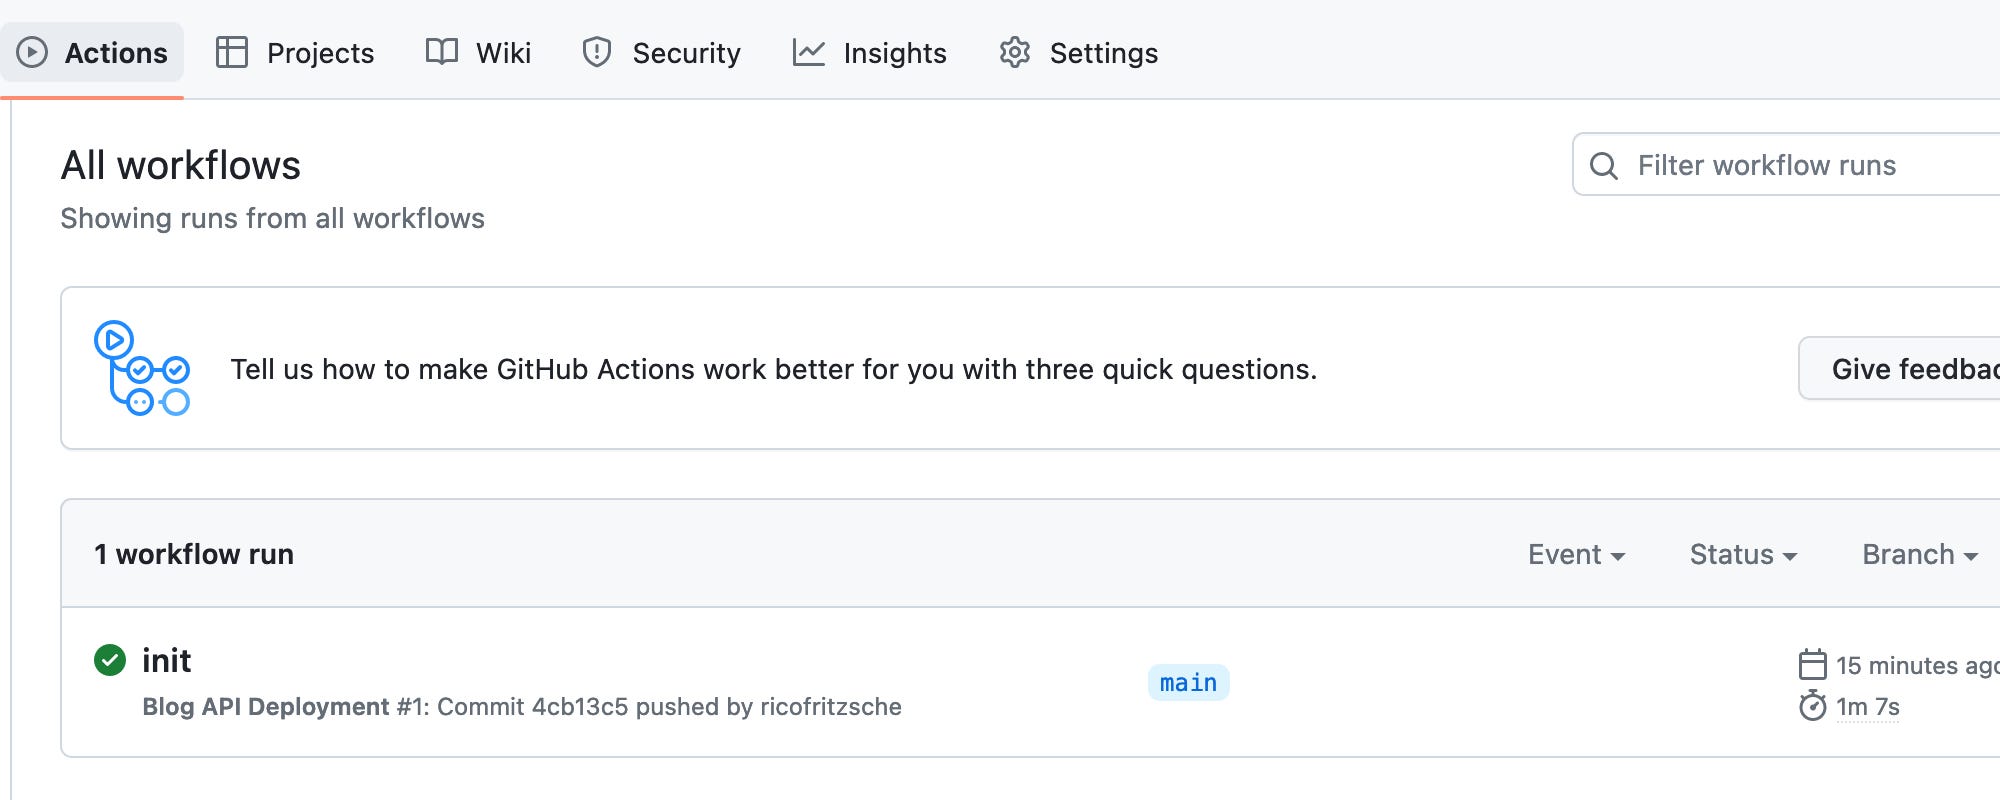
Deploy the Application: On an Intel architecture Mac, deployment is as simple as pushing to Heroku using Heroku CLI commands. But if you're on a MacBook M1, you'll need to use a Github workflow to build, push, and release the Docker container to Heroku.
name: API Deployment
on:
  push:
    branches: [main]
jobs:
  build:
    runs-on: ubuntu-latest
    steps:
    - name: Checkout
      uses: actions/checkout@v2
    - name: Build, Push and Release Docker container to Heroku
      uses: gonuit/heroku-docker-deploy@v1.3.3
      with:
        email: ${{ secrets.HEROKU_EMAIL }}
        heroku_api_key: ${{ secrets.HEROKU_API_KEY }}
        heroku_app_name: ${{ secrets.HEROKU_APP_NAME }}
        dockerfile_directory: ./
        dockerfile_name: Dockerfile
        docker_options: "--no-cache"
        process_type: web
In just a few steps, your .NET Core application is up and running on Heroku, even from a MacBook M1. Now, isn't that smooth?
For a detailed walkthrough, visit the full post here.
Stay tuned for more tech tips!